Import ET calves
Animal details can be imported by linking the animal to it's recip dam. It will look for an embryo currently in utero to that recipient.
The CSV file that you will be importing should include the following information:
- Calf ID/tag
- Calf Sex
- Calf Date of Birth (D.O.B.)
- Recipient Cow (recip)/birthing dam ID
- Mating type (e.g. ET)


To import the information, it will need to be done in 2 steps:
- Create animals import.
- Add ET info import.

This is because when bringing in mating type, it can only be done for existing animals, not when adding the animals for the first time.
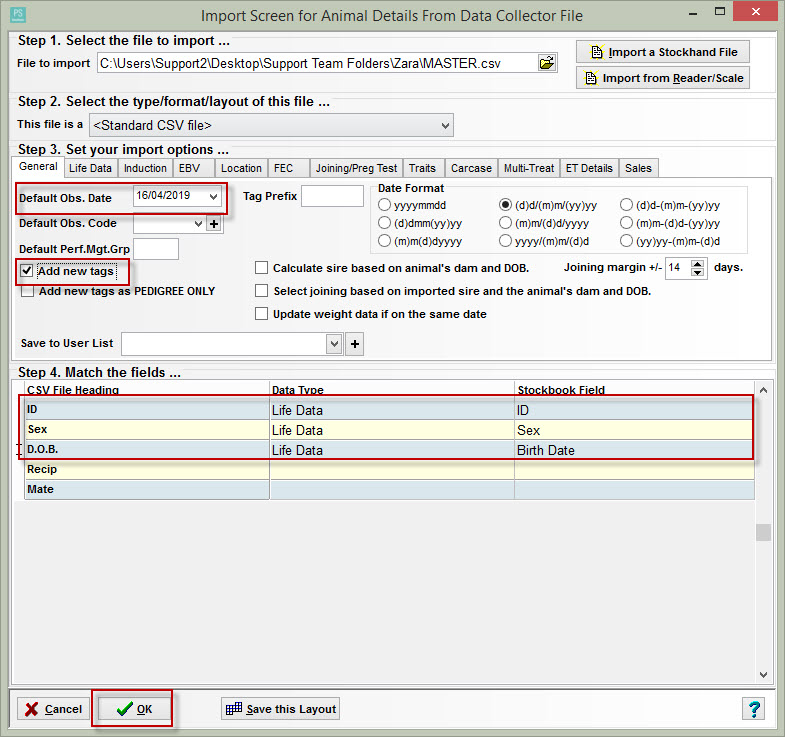
Import #1: Create animals import
- File > Import Options > Details from Data File
- Find and select the CSV file in 'File to import' box
- Select a default Obs date (e.g. today's date)
- Ensure the 'Add new tags' box is ticked as these will be new animals
- Ensure the date format is correct
- Match the fields to be imported - should be only animal details:
- Tag/ID - Life Data - ID
- Sex - Life Data - Sex
- D.O.B. - Life Data - Birth Date
- Click OK
- Select Yes to confirmation pop-up
- Select OK to import complete pop-up
To see the animals that were just added/imported:
- Click Cancel in the import screen
- Drop down 'Yard Sheets/User List Filter' > Select 'Last Import'
- Animals will show up here without ET info (as explained above)

Import #2: Add ET info import
- File > Import Options > Details from Data File
- Find and select the CSV file in 'File to import' box
- Match the fields to be imported - ID and ET info
- Tag/ID - Life Data - ID
- D.O.B. - Date - Observation Date
- Recip - Life Data - Recip Dam ID
- Mate - Life Data - Mating Type (existing animals)
- Ensure date format is correct to match CSV set-out
- Click OK
- Select Yes to confirmation pop-up
- Select OK to import complete pop-up

Go in to Last import user list
You may need to refresh this screen.
The ET information should have been added.
Click into an individual animal to check the details have shown up as the image below:

Article #4347
Related Articles
Transferring dams and calves in same export
If someone is trying to export a group of animals to be transferred to another Stockbook, and is getting an error saying the dam eg.0123 is included in this transfer as well. **The dam number below is just an example** Because Stockbook is a ...ET Module - Creating an ET Program
Embryo programs consolidate all of the activities associated with a specific embryo recovery - joinings, flushes, freezing and implants. 1. Adding Embryos Step 1. Add a new program Click on the ET Module toolbar icon. Click Program Click on the Add ...Import a CSV File
Importing a CSV File Importing CSV files allows the user to bring animals and associated data into Stockbook. Before you begin Always take a backup of your Stockbook data before importing CSV files. CSV files can corrupt so it is advisable to create ...Import Sheep Genetics data into Stockbook
Import Sheep Genetics Data into Stockbook Go the Sheep Genetics website: http://www.sheepgenetics.org.au/Home Login to the Sheep Genetics system using your login and password Find the file to import and save it to a convenient location Open Stockbook ...Adding new calves - cannot change paddock
When adding a new calf to Stockbook it is possible to set the mob, group and paddock to default to that of its Dam This allows Stockbook to assume the calf is not yet weaned from the dam when it is being entered. To reassign the calf to its correct ...